2048
Day 3 of a three day collagraph course at Leicester Print Workshop


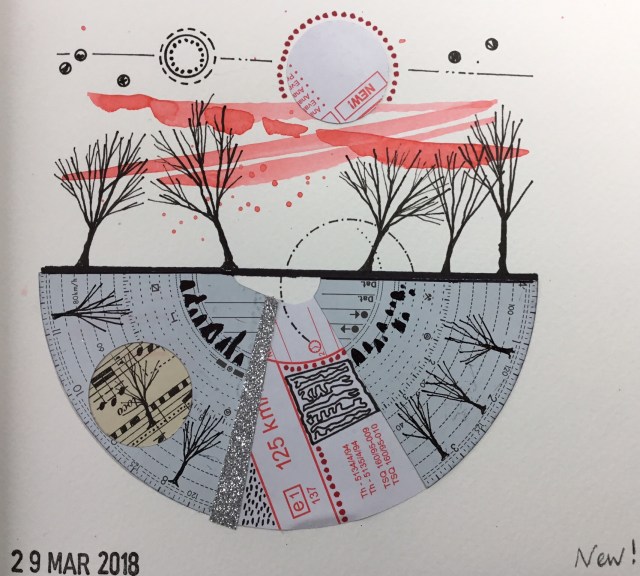
Above are my sealed collagraph pieces before inking, and then what they liked like after inking but before printing. Inking up a number of pieces that will work together in one  print is quite a challenge. When making and inking them its easy to get caught up with each one as an individual piece instead of retaining the sense of the single print. There were so many ways that these could have been inked up that I didn’t end up using some of the ways that Charles had demonstrated yesterday. There are areas and pieces in the print to the right that I can learn from in future prints. The advantage of being at Leicester Print Workshop was that there’s lots of room to have a range of colours out and lots of rollers, unlike at home. But that does result in too much choice! Some of the other participants prints of pieces were absolutely fantastic.
Charles also demonstrated how to work with two plates, one dark and one a colour. He showed us how to print the main plate in black onto a piece of newsprint. Then take a fresh piece of environmount, place the newsprint onto the plate print down and roll through the press again. The image is reversed back and if you seal you can then work onto it knowing where to cut away more precisely to give the colour of the ink and the colour of the page. Charles also suggested that we keep a record of how the colours we’re using are made in case we need to make them again later in the edition. Its been great to hear all so much practical advice from a very experienced printmaker.
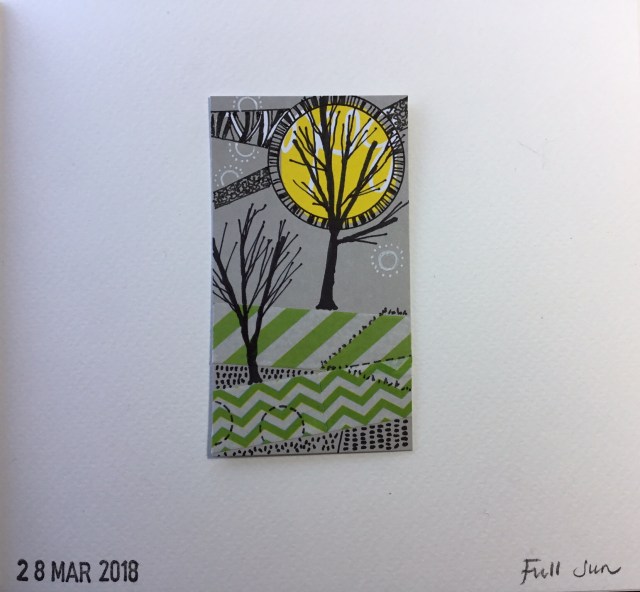
 During the day I also carried with the elephants plate that I had begun yesterday. Now I understand the process a bit better there are things I could have done better with this plate. I needed to think about how to make the elephants stand out against the background by making them darker or lighter or more patterned or more textured in contrast to the
  background. Above is the plate after inking. Adding colour might also have helped, but time was running out.To the right is the plate after printing by surface rolling only. There are errors on this print primarily using the roller rather poorly resulting in lines in the moon and across the right hand elephant. I’m not very experienced with using a roller and the plate was wider than the roller so both these contributed to the lines.
Overall the three days were a great learning experience, giving me practical ideas and inspirations to help me renew and develop my printmaking.

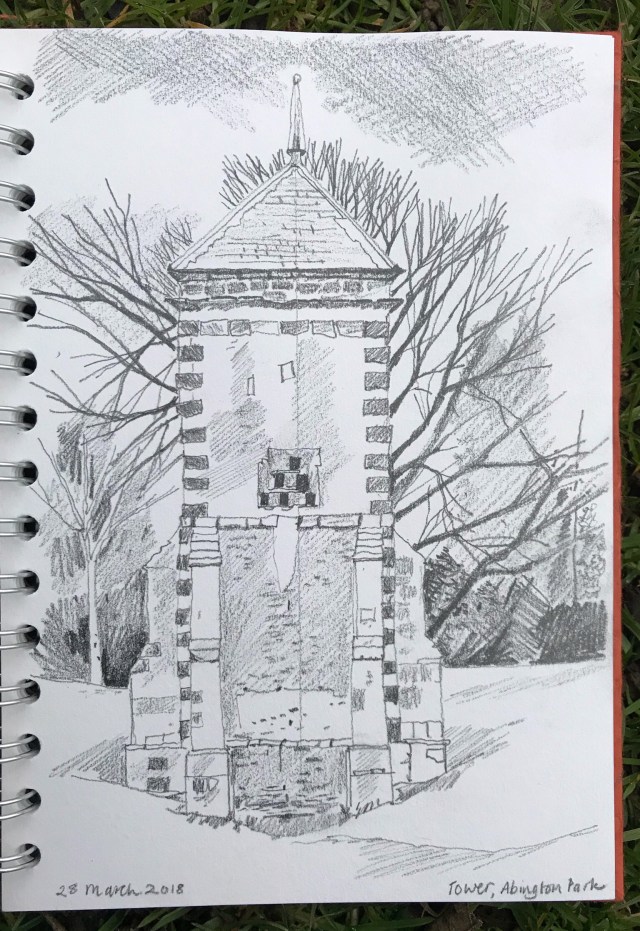
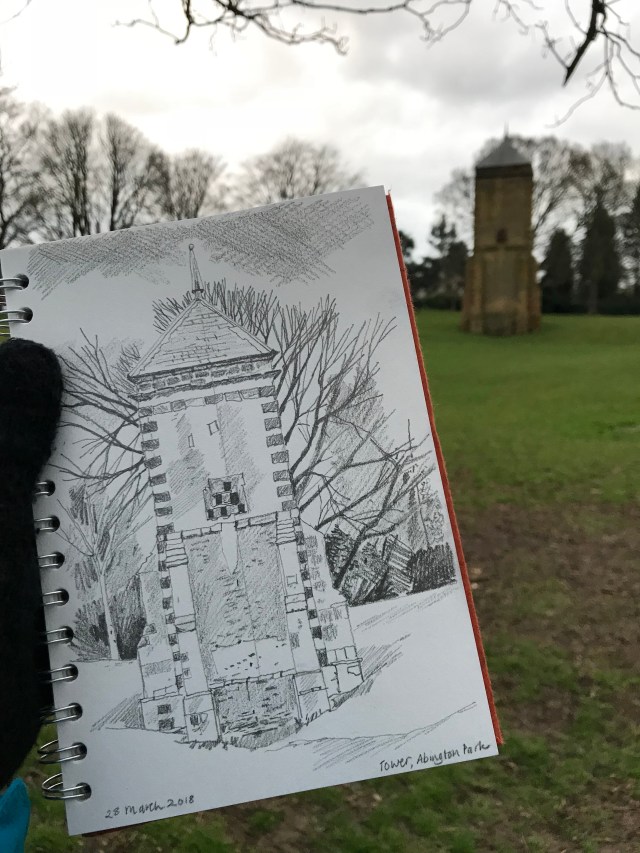
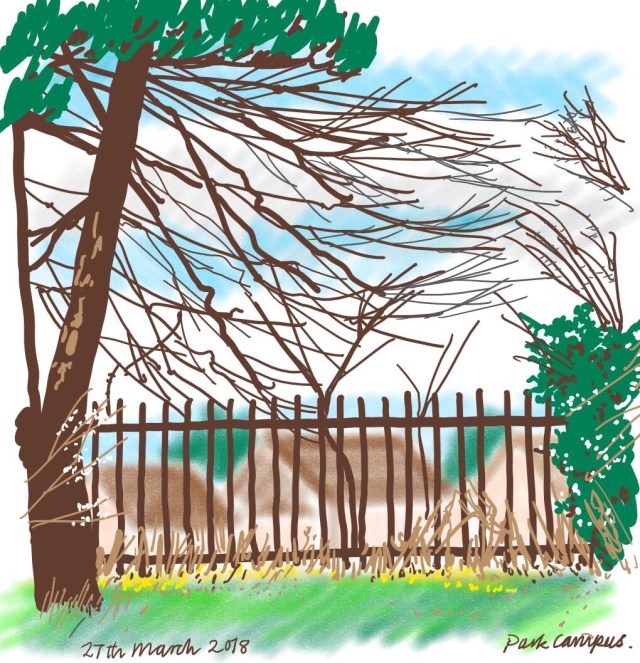
During today I had a few minutes to capture a view that had caught my eye over the last few days, looking through the front window out into the street, seeing the title of the building reversed on the front window.

 print, less of an issue here because I hadn’t really paid much attention to neat edges, I placed the yellow acetate face down onto the black print and then flipped it to roll over the back again. Its a great way to make a one off print using accessible materials. I went on to make the elephant print above using the colour overlaps more consciously. Both these prints are a bit larger than A4.
 our learning from yesterday. The board we’re using is easy to cut so it lends itself to making prints from pieces and cutting into the board. When doing this Charles also introduced to the idea of cutting the edges of the card so it is bevelled – this is quite difficult at first but with practice does get easier. I made some pieces using the techniques from yesterday and also adding textured paper. Its also possible to add carborundum powder which holds the ink to make a dark tone. Charles demonstrated how to ink the pieces up both intaglio and surface rolling. I realised that its possible to use shapes with little or no marking on them as part of this inking stage and use the qualities of the roller to add colour and pattern. Tomorrow I’ll find out what I can do with the shapes above!
 We used various mark making tools and knives to mark to card plate, peeling off layers, drawing, pressing into and generally experimenting. At first I found it hard to reverse my thinking, to realise that anything that was peeled away would be lighter or white, revealing the paper we print onto. This is because the plate is inked by surface rolling like a linocut. Before printing the plate is sealed with shellac.
 It was hard for me to understand or predict what the print would look like until I saw it printed for the first time. After printing I could see how different marks and peelings printed. I could make a greater range of marks and tones using this board than the mount board that I usually use. Environmount is thinner and therefore easier to cut into shapes and cut into to reveal the lower layers but seemed more robust. We could also recut and reseal after printing if we wanted to make changes.
 ink the lower layers of the plate in a more intaglio way, drawing ink cross the surface with a plastic card and rubbing in and polishing away in areas and then using the roller to ink up the top surface. Inking up the plate in this way allowed for a range of colours and white of the paper in the lower layers and a contrasting colour on the top surface to work together in an interesting way. This time we printed onto